How to Change a Needle on a Vinyl Record Player

Young and the old have fallen to the charm of vinyl records all over again. They are making a huge comeback. However, maintaining records is not as easy as it sounds. It involves a careful supervision and impeccable attention to detail. If you want to preserve your records for a longer duration and years to come, then you should know how to take care of them.
Very few speak about changing the needle and how important it is. Replacing the stylus is a vital element in the maintenance procedure of a vinyl.
This blog post will walk you through the process of changing the needle on a vinyl record player, how to extend the life of your vinyl records.
Know your Needle
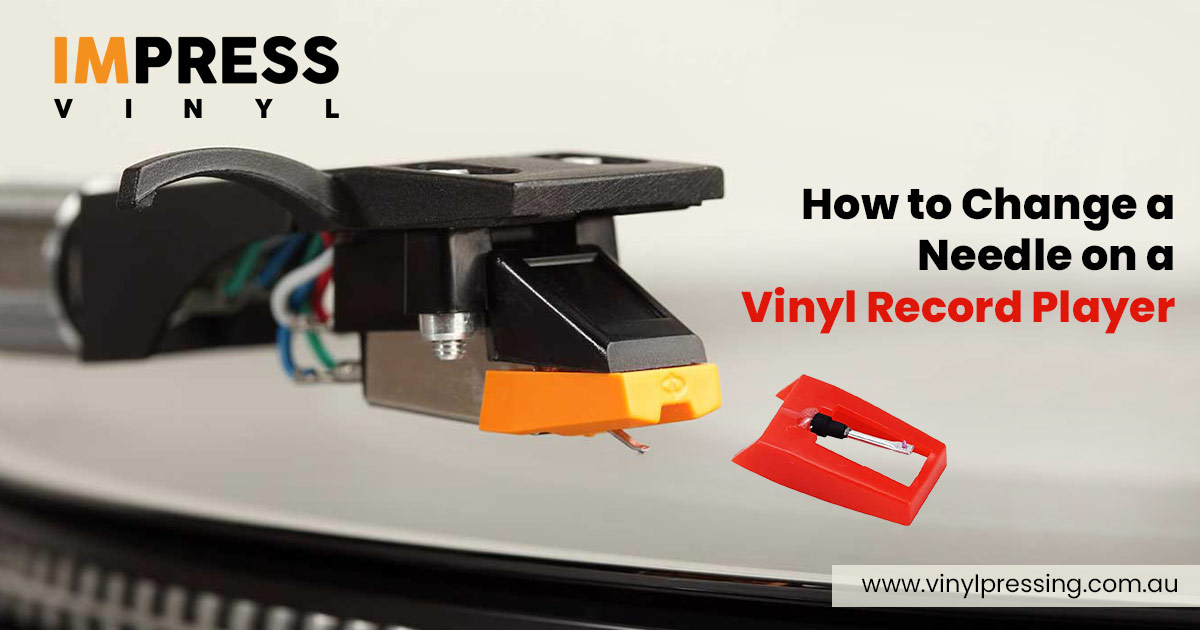
Before you begin to clean your records, it is important to know the function and the way the needle works. Needle is called stylus and it is a tiny piece located at the end of the tone arm. Its main purpose is to come in contact with the grooves on the vinyl record, which helps in converting the electrical vibrations into musical sound.
If you are using your records regularly without proper maintenance and not cleaning your needles frequently then you might encounter sound related problems. Often there can be screeching sounds heard, or unusual noises or even some disturbances while listening to your favourite songs.
Record player needle replacement, after using records for a good amount of time. However, changing a needle of the vinyl record requires a careful and a detailed procedure. To make things easier for you, we have listed down the step-by-step procedure to change needle with ease.
Step-by-Step Guide: Record Player Needle Replacement

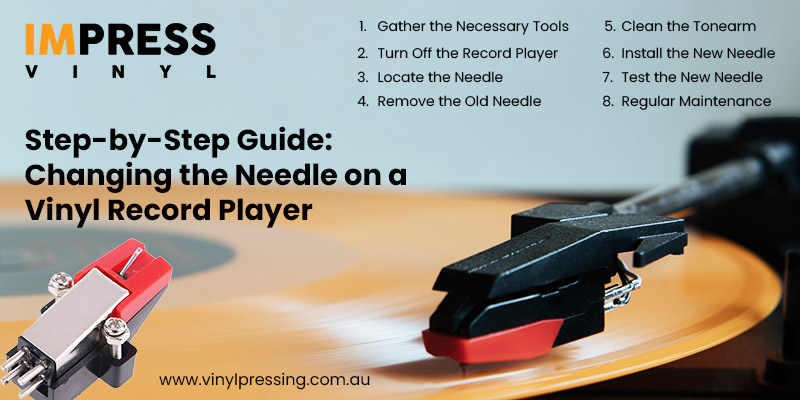
Step 1: Gather the Necessary Tools
The first step is to collect the necessary tool set to clean your records. You do not need a technician or require some technical knowledge to change the needle. It is a most simplistic way and anyone can do it. You will be surprised to know that you would require only four accessories.
- A new needle to replace your old one – Choose the needle according to the vinyl model or check your manual
- A small screwdriver
- A cleaning brush
- Cotton cloth or a muslin cloth
Step 2: Turn Off the Record Player
Once you gather all the accessories to clean your custom vinyl record, next step is to turn off the electric supply. Ensure you unplug the record so that there are no mishaps or any harm involved.
Step 3: Locate the Needle
Check where your needle is located. It would be right next to your tonearm. Before you remove the existing needle, note how the needle is fixed to the arm, so that it helps you in fastening the new needle.
Step 4: Take away the Old Needle
Unscrew the old needle using a screwdriver. Ensure not to apply huge force and handle with acre. If you apply too much pressure, you might end up damaging the tonearm.
Step 5: Clean the Tonearm
Prior to installing the new needle, it is important to clean the tone arm systematically. Use a clean cotton cloth or any muslin cloth to clean away all the debris in the tonearm. Make sure not to skip this vital step in your procedure.
Step 6: Install the New Needle
Align the new needle or stylus with the cartridge at the end of the tonearm. Attach the needle securely as directed by the manufacturer, providing a tight and secure fit. Avoid touching the needle with your fingers, since oil and grime might impair its effectiveness.
Step 7: Test the New Needle
Once the record player needle replacement has been placed, it must be tested to confirm correct functionality. Choose a personalised vinyl record, start the record player, and gently lower the tonearm with the new needle onto the record. Look for any sound distortion or skipping that could suggest a faulty installation.
Step 8: Regular Maintenance
Changing the needle is only one part of appropriate record player care. It is advised that the needle be cleaned on a regular basis with a soft brush or a specialised cleaning solution to guarantee optimal performance and longevity. Furthermore, handle your custom vinyl records with care, store them in protective sleeves, and keep them away from severe temperatures or direct sunlight.
Remember to gather the required equipment, turn off the record player, carefully remove the old needle, clean the tonearm, and securely place the new needle. Regular cleaning and upkeep will keep your record player in like-new condition.
Choose Impress Vinyl and Elevate Your Vinyl Journey
Impress vinyl is a one stop solution for all your vinyl needs. Choosing the best quality vinyl record must be your top priority. Frequently encountering problems with your vinyl and having to replace and repair its components can seem like a bit of a hassle. But, do not worry as we put our customers first and provide you with premium quality vinyl products.
We help you realise your musical passion, support your aspirations, and walk with you in your vinyl journey. Our personalised vinyl records are delivered to its ultimate precision and cater to the emotions and feelings behind every individual’s dreams.